
Almost every Windows computer has access to Publisher, and it is a great tool for building your publication. If you are using Publisher to build your news magazine, literary magazine, sports program, or other magazine style document you may want backgrounds or photos to bleed. I have created a tutorial for setting up bleeds in Publisher and how to export your document from Publisher with bleeds. Here is the link to watch the video. Or you can follow the step by step instructions below:
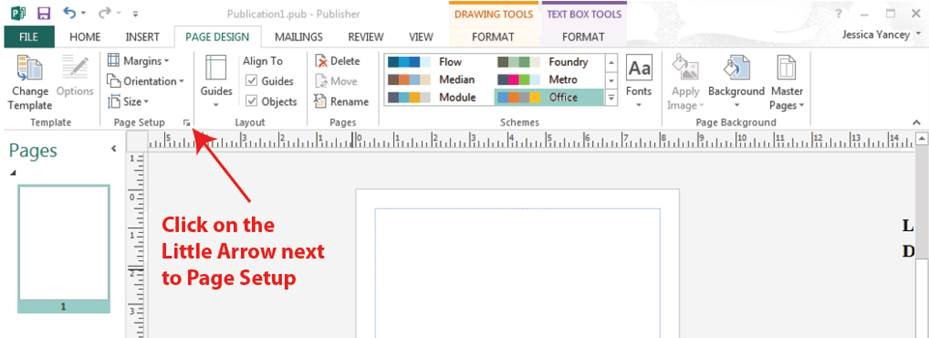
Bleed is a printing term that is used to describe a document which has images or elements that touch the edge of the page, extending beyond the trim edge and leaving no white margin. When a document has bleed, it must be printed on a larger sheet of paper and then trimmed down. To create a bleed in Publisher, you adjust the settings in “Page Setup”. To get to the “Page Setup” screen click on “Page Design” at the top of the screen.

Next you’ll want to click on the menu button next to “Page Setup”.
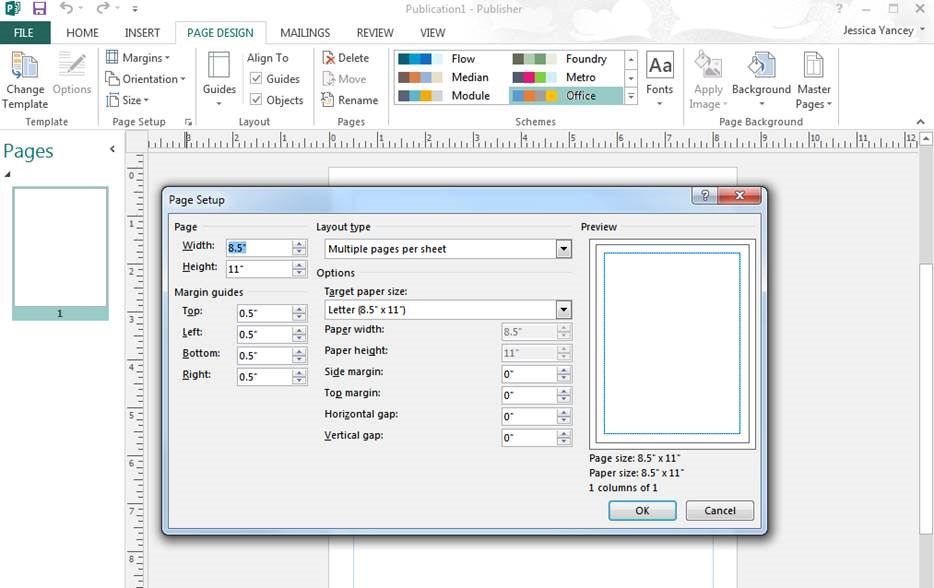
The Page Setup dialogue box will pop up and look like this:
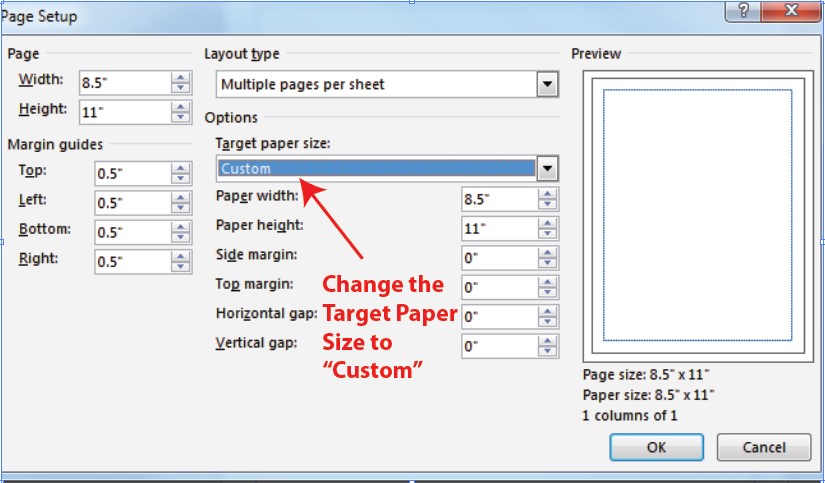
Change the Target Paper Size to “Custom”
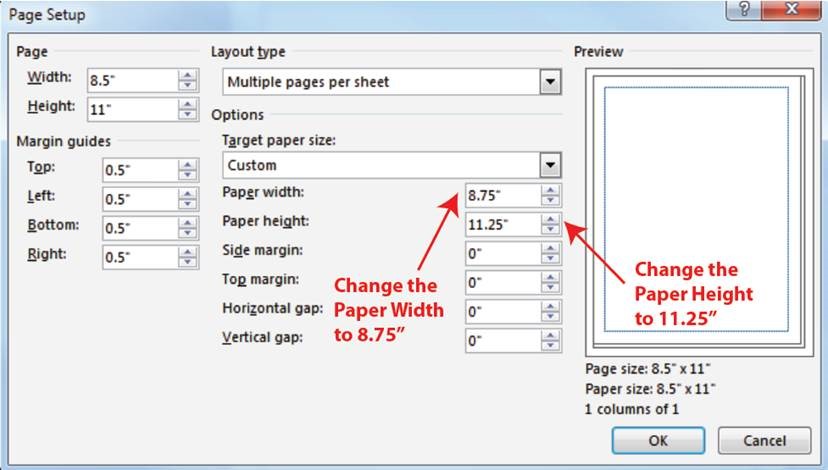
Change the Paper Width to be 8.75”, and change the Paper Height to be 11.25”. This will tell Publisher that you need this to print on a larger sheet of paper. In order to create a bleed, we must print on a larger sheet of paper and trim your pages down to 8.5”x11”. We ask that customers set up their pages with .125” bleed on all sides, which makes your overall page size be 8.75”x11.25”.
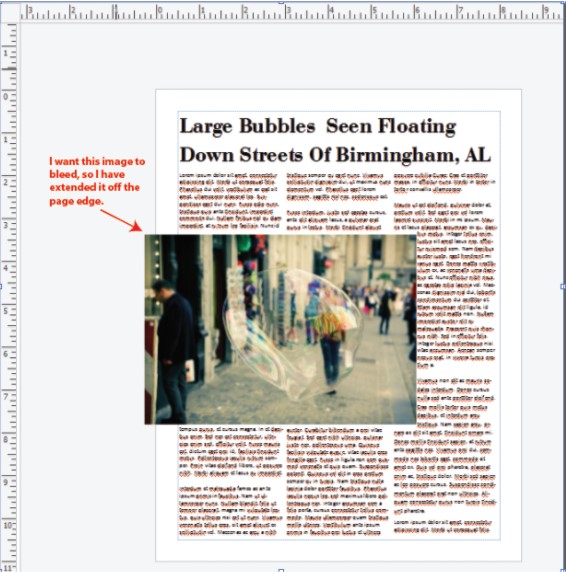
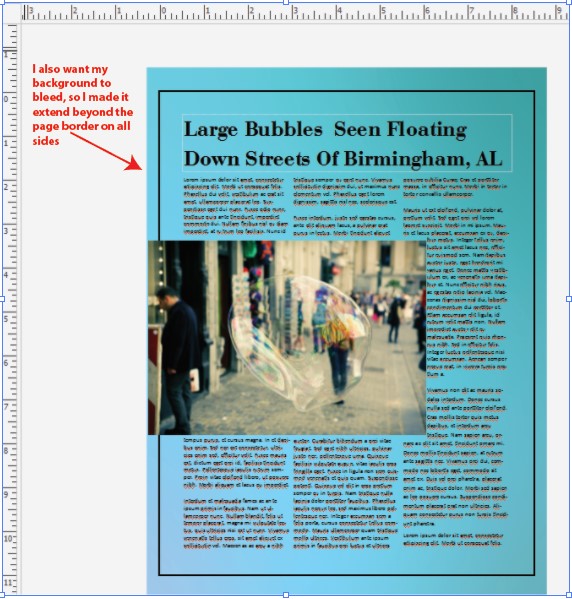
Click “Ok” to save these settings. You are ready to begin designing your pages! When designing your pages to bleed, you need to take all backgrounds and images that will bleed beyond the page edge. Since we need to print your pages larger, we’ll need you to give us something to trim off. Take all backgrounds and images that you want to bleed beyond the page edge by at least .125”.
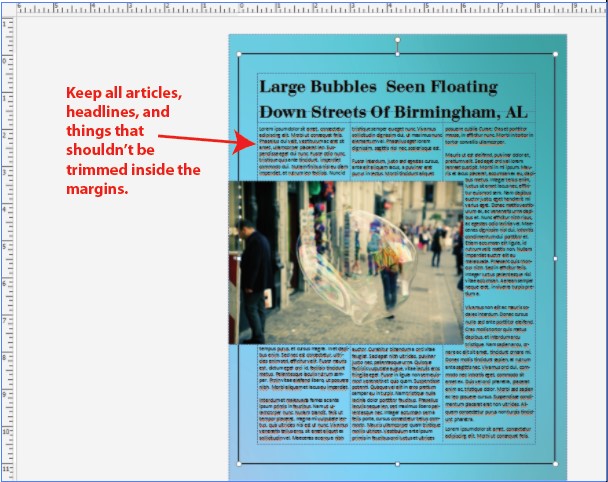
Be sure to keep all of your articles, headlines, and elements that you do not want trimmed inside the .5” or .25” margins. Anything closer than .25” could be trimmed off when we trim the bleeds.
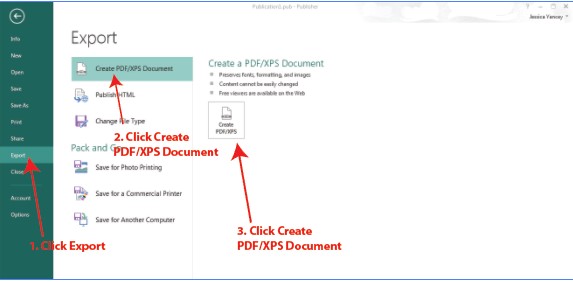
Once you have finished your design, you are ready to create a PDF. You’ll need to tell your PDF that you want bleeds. To do that go to File/Export/Create PDF-XPS Document.
On the export Screen, you’ll want to type the name of your publication, then select “options” before publishing.
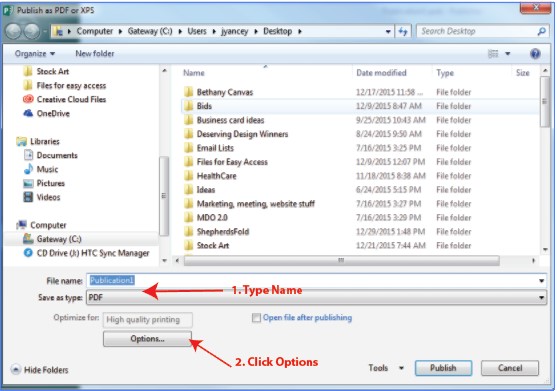
On the “Options” Screen, you’ll want to click “Print Options”.
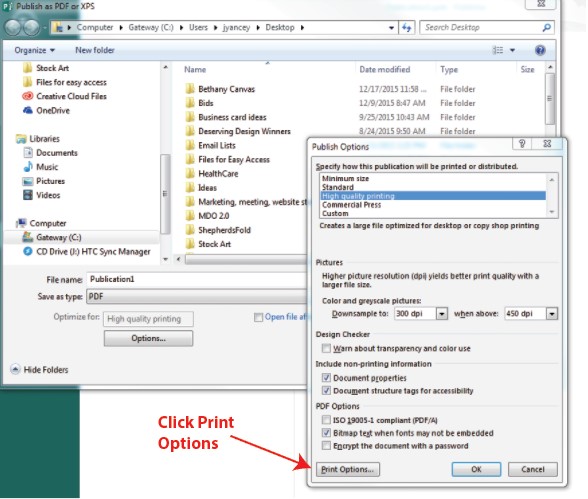
On the “Print Options” Screen, you’ll want to tell it you want the page size to be 8.75”x11.25” to account for the bleeds. You’ll also want to make sure the check box next to “Allow Bleeds” is checked.
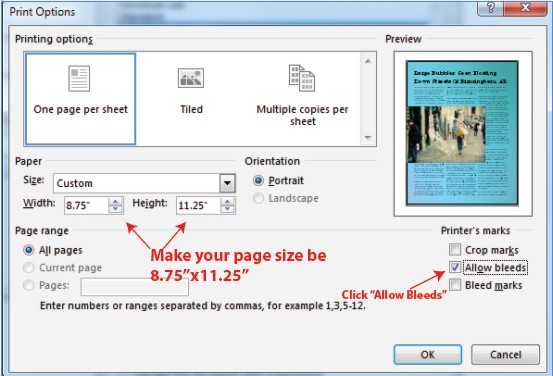
Then Click “OK” on the Print Options Screen. Then click “OK” on the Publish Option screen. Then Click “Publish” on the Publish screen.
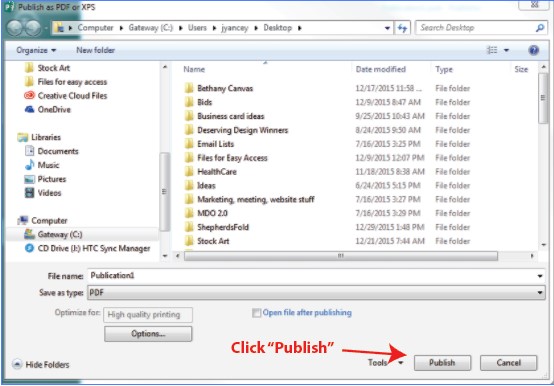
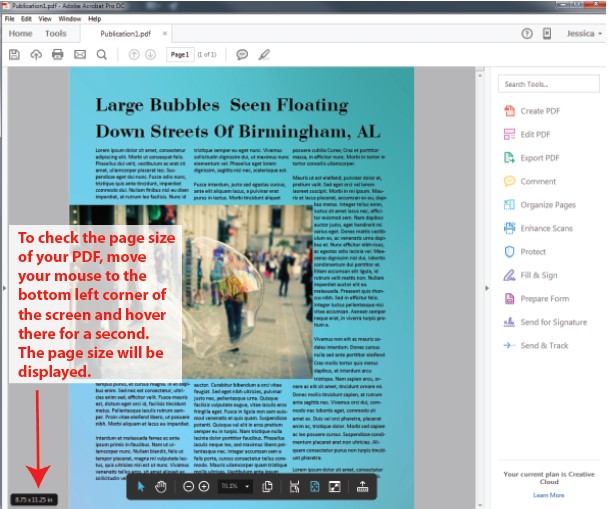
Once you click “Publish” your PDF will be created and saved. Open your publication and check to make sure it looks ok. You can check the PDF page size by moving your mouse the bottom left corner of the PDF window. It will display the page size once your mouse hovers in that corner for a second. Your page size with bleeds should be 8.75”x11.25”. Now that you have your PDF created with bleeds, you are ready to submit!


